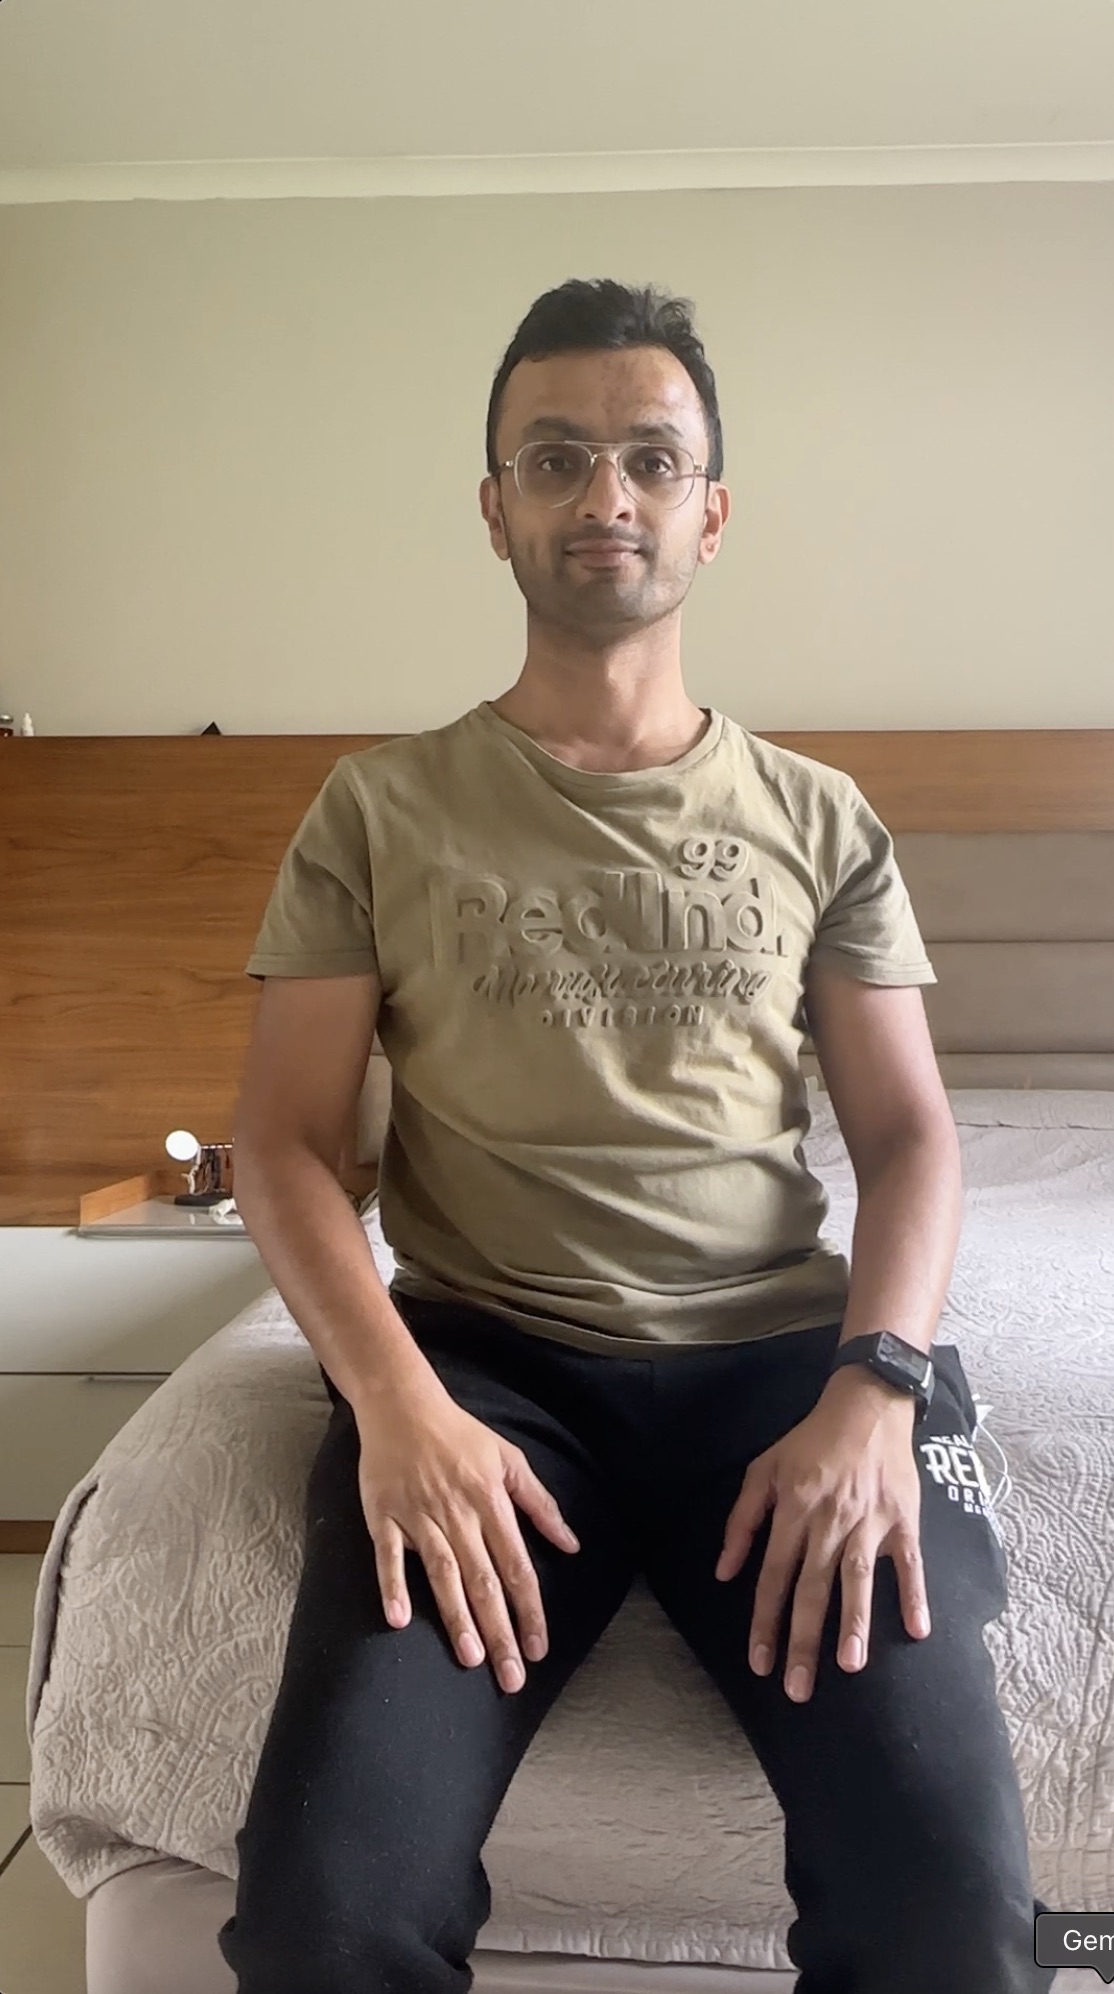
Start Here: Record Yourself First
Before anything else, you need a source video of yourself. This is the puppet master — the motion that Kling 3.0 extracts and applies to whatever character you choose.
I recorded a simple talking-head video. Nothing fancy. Just me, decent lighting, and a clean background. The key is that your body movement — head turns, gestures, expressions — becomes the driver for the final character. The better your source video, the more natural the puppet looks.
Keep it conversational. Move naturally. Don't try to be stiff or precise — natural motion translates better than rehearsed movement.
Step 1 — Build Your Image Generation Dashboard (Vibe Coding)
Rather than generating each celebrity image one by one in a manual UI, I built an automation dashboard using Cursor. This is what people are calling vibe coding — you describe what you want, Cursor builds it, you iterate until it works.
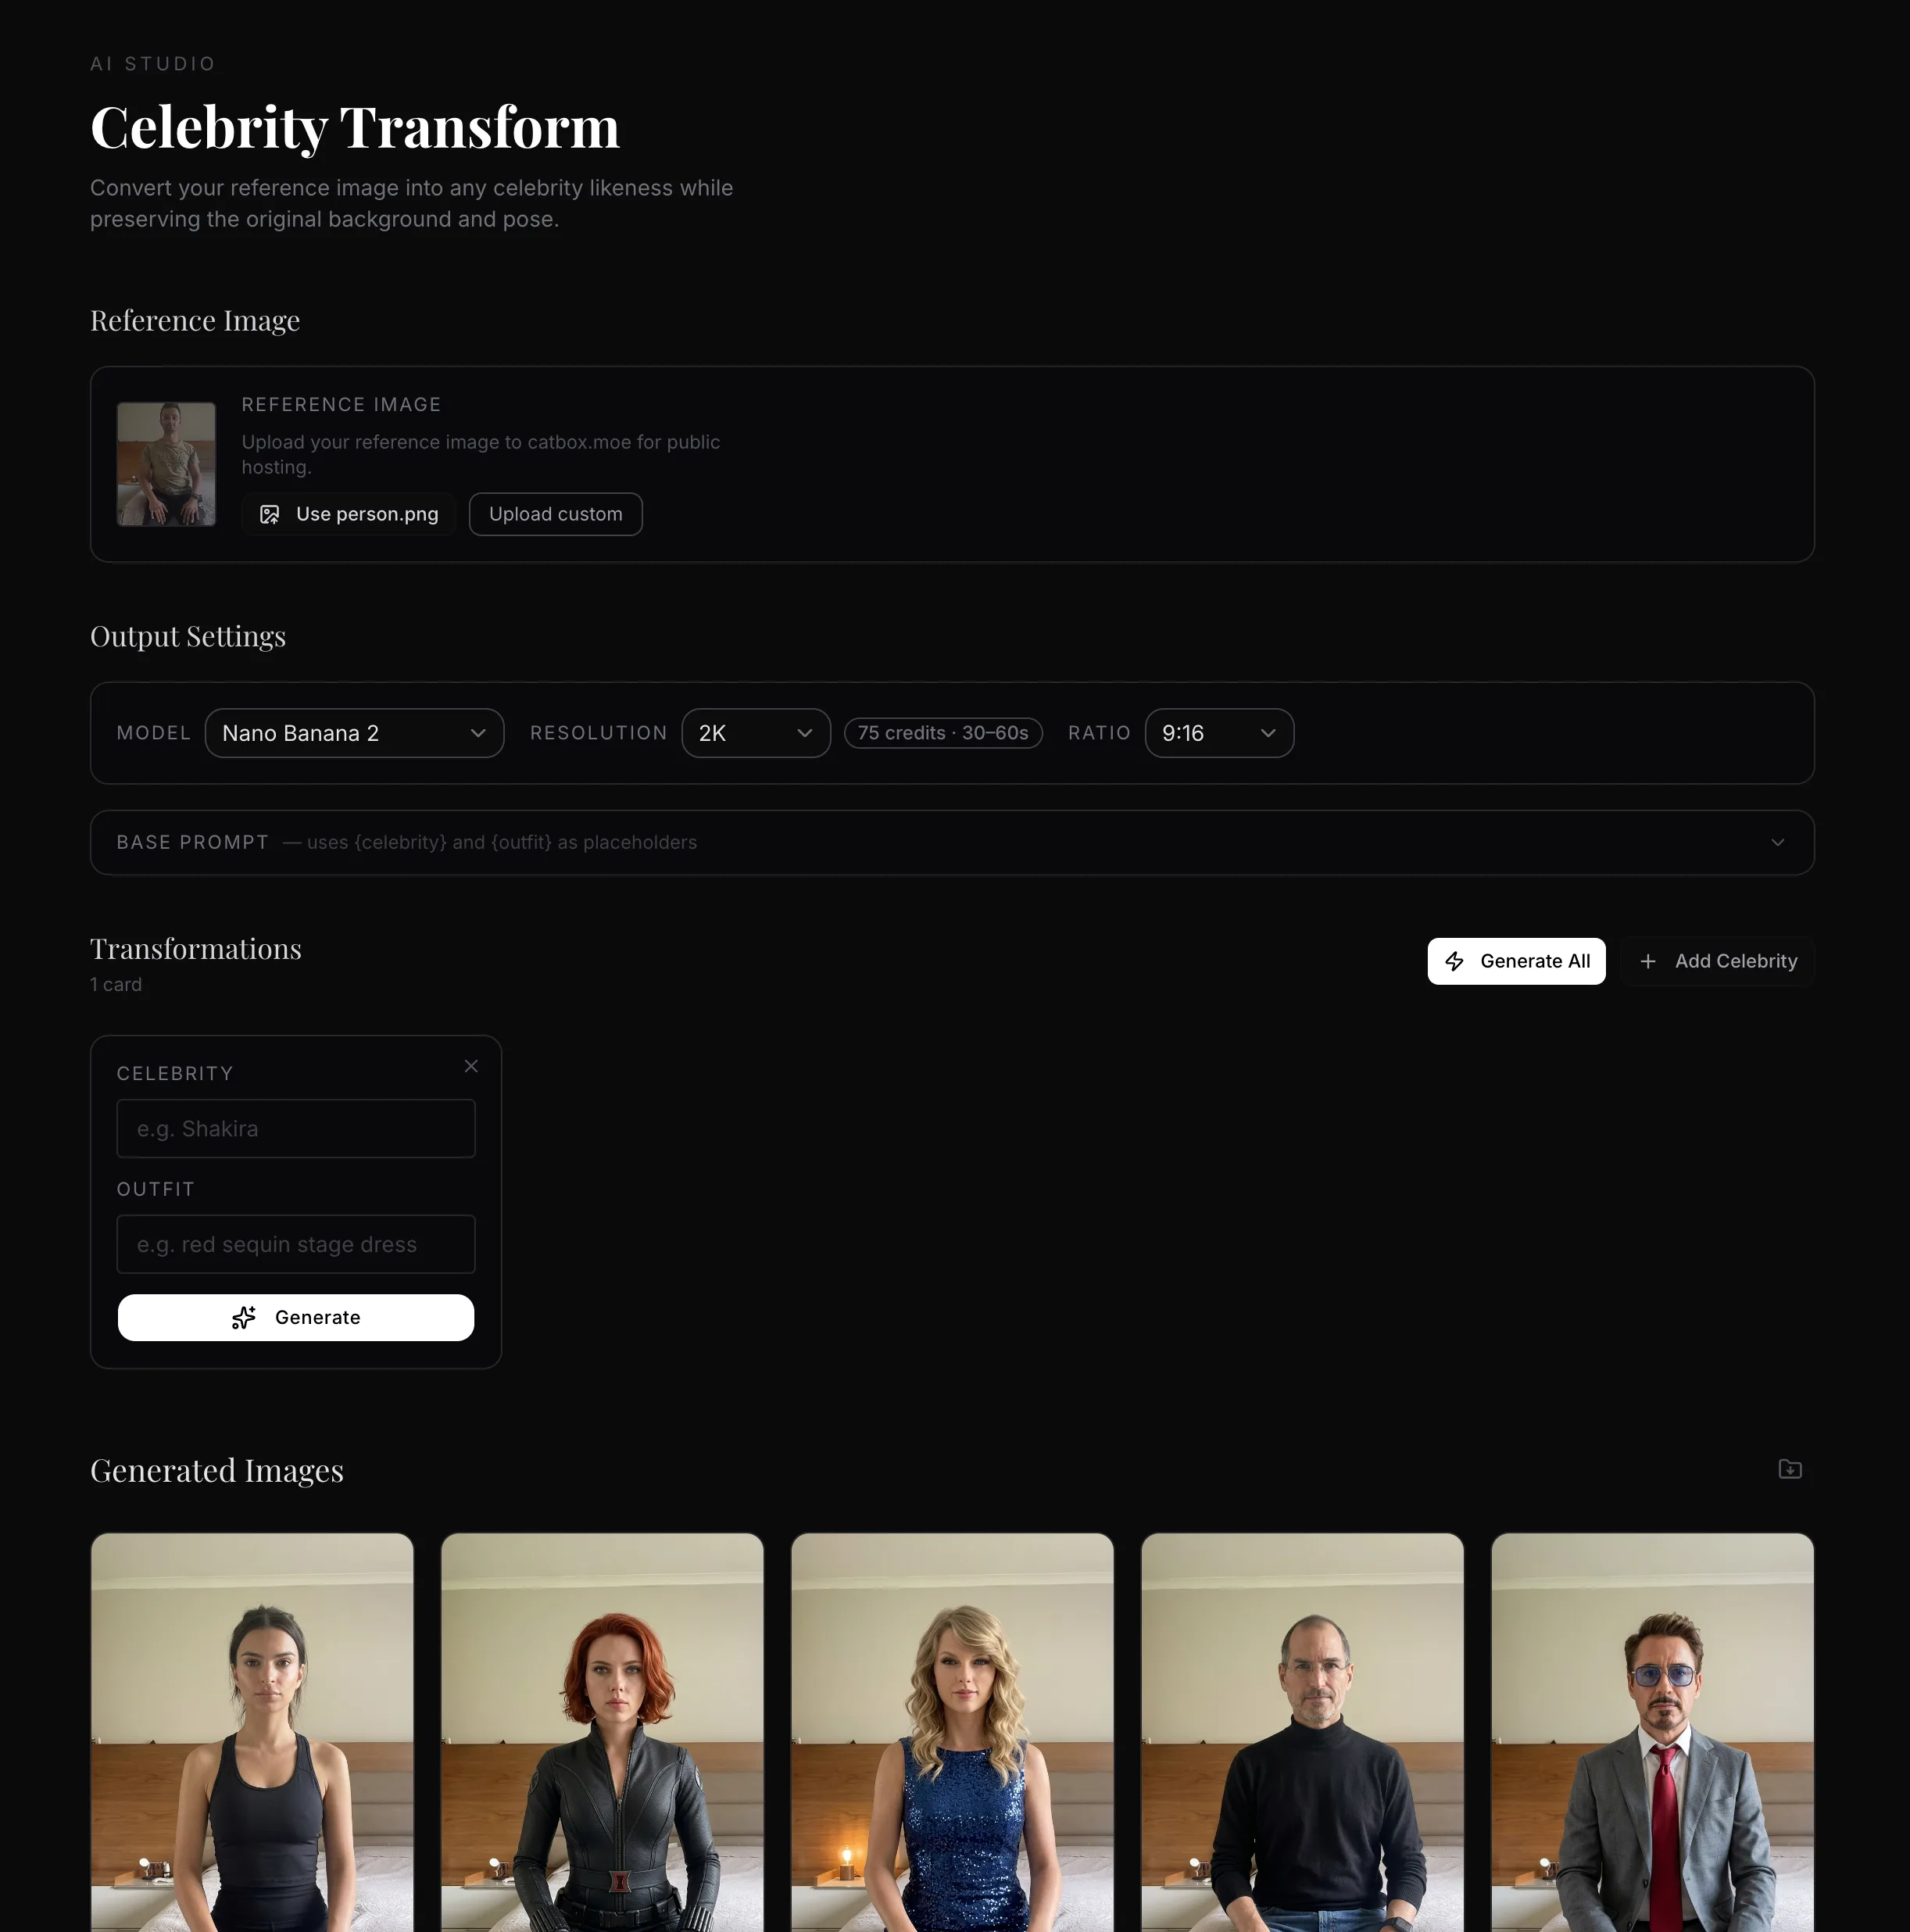
The whole point of the dashboard is to lock in a base prompt that never changes. You only swap out the celebrity name and outfit per row. No re-typing. No copy-pasting prompts across tabs. One table, one click, all generations dispatched.
The Base Prompt
Every image generation uses this same base prompt — only {celebrity} and {outfit} change:
📋 Transform the person in the reference image to look exactly like {celebrity}, wearing {outfit}. Keep the exact same background, same room, same position. The subject is forward-facing, looking directly into the camera. Ultra-realistic photographic quality, professional portrait photography, photorealistic skin texture, highly detailed facial features matching {celebrity}'s likeness precisely. Natural lighting consistent with the original scene.
Step 2 — Add Your Celebrities and Outfits
With the dashboard set up, I added my list of characters. For this guide I used:
- Emily Ratajkowski
- Tony Stark — Robert Downey Jr.
- Steve Jobs (black turtleneck)
- Black Widow
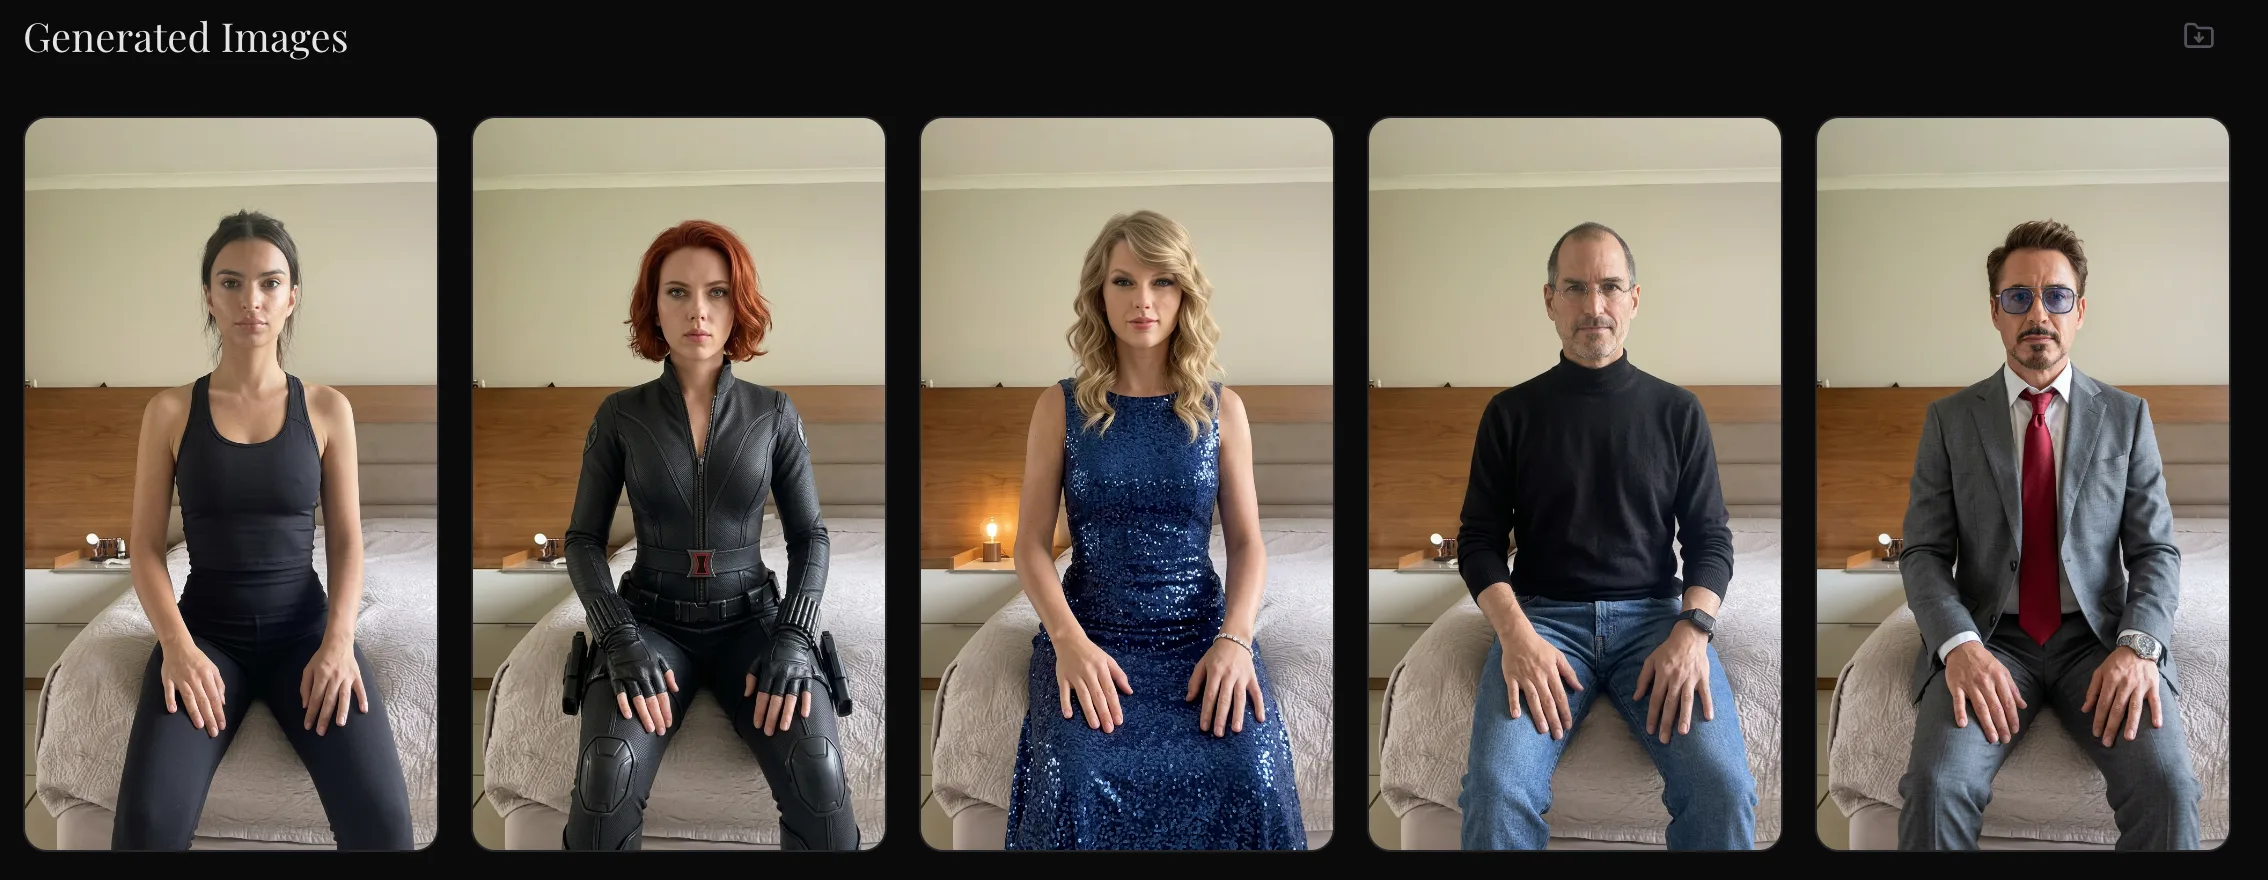
The dashboard also has an outfit field per row. Each celebrity gets their signature look. Tony Stark gets the suit. Steve Jobs gets the turtleneck. Each row = one generation. You can add as many as you want — the API handles them all.
Step 3 — Auto-Generate All Images via Sjinn
Because Sjinn has a proper API, the dashboard calls it directly. One click. Every celebrity image generates simultaneously — no waiting, no clicking through a manual UI, no browser tab management.
This is the key difference versus tools like Higgsfield or other platforms that require you to manually click generate, wait, download, repeat — one image at a time. With the Sjinn API approach, you dispatch all generations at once and collect the results when they're ready. Four celebrities = four API calls = done in the same time it used to take to do one.
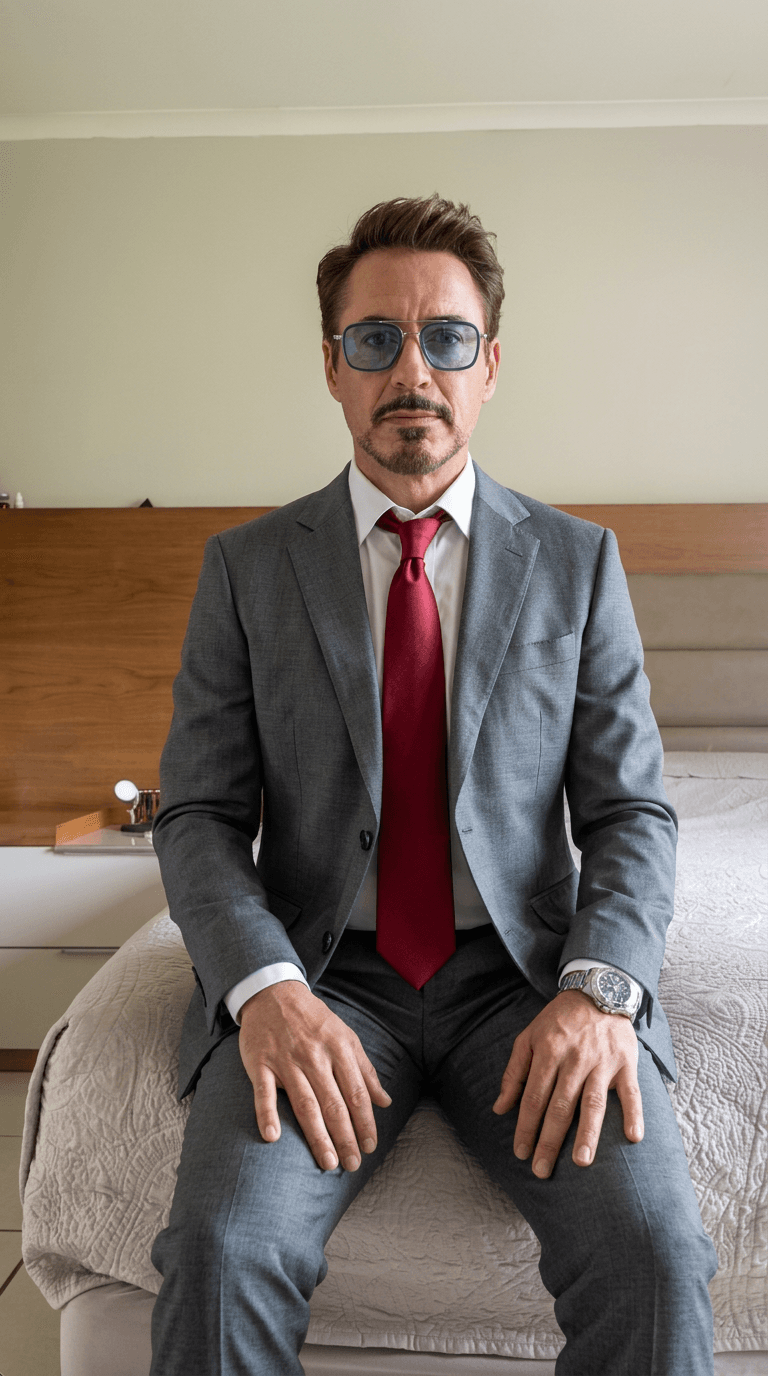
Step 4 — Set Your Reference Frame
Once the images were generated, I took a screenshot of one of the outputs and used it as the reference image in the Kling 3.0 prompt.
The critical instruction in the prompt: do not change the background. Only change the character. The background stays consistent across all clips — same room, same lighting, same position. Only the person changes. This is what makes the final edited video look seamless when you cut between celebrities.
Step 5 — Clip Your Source Video
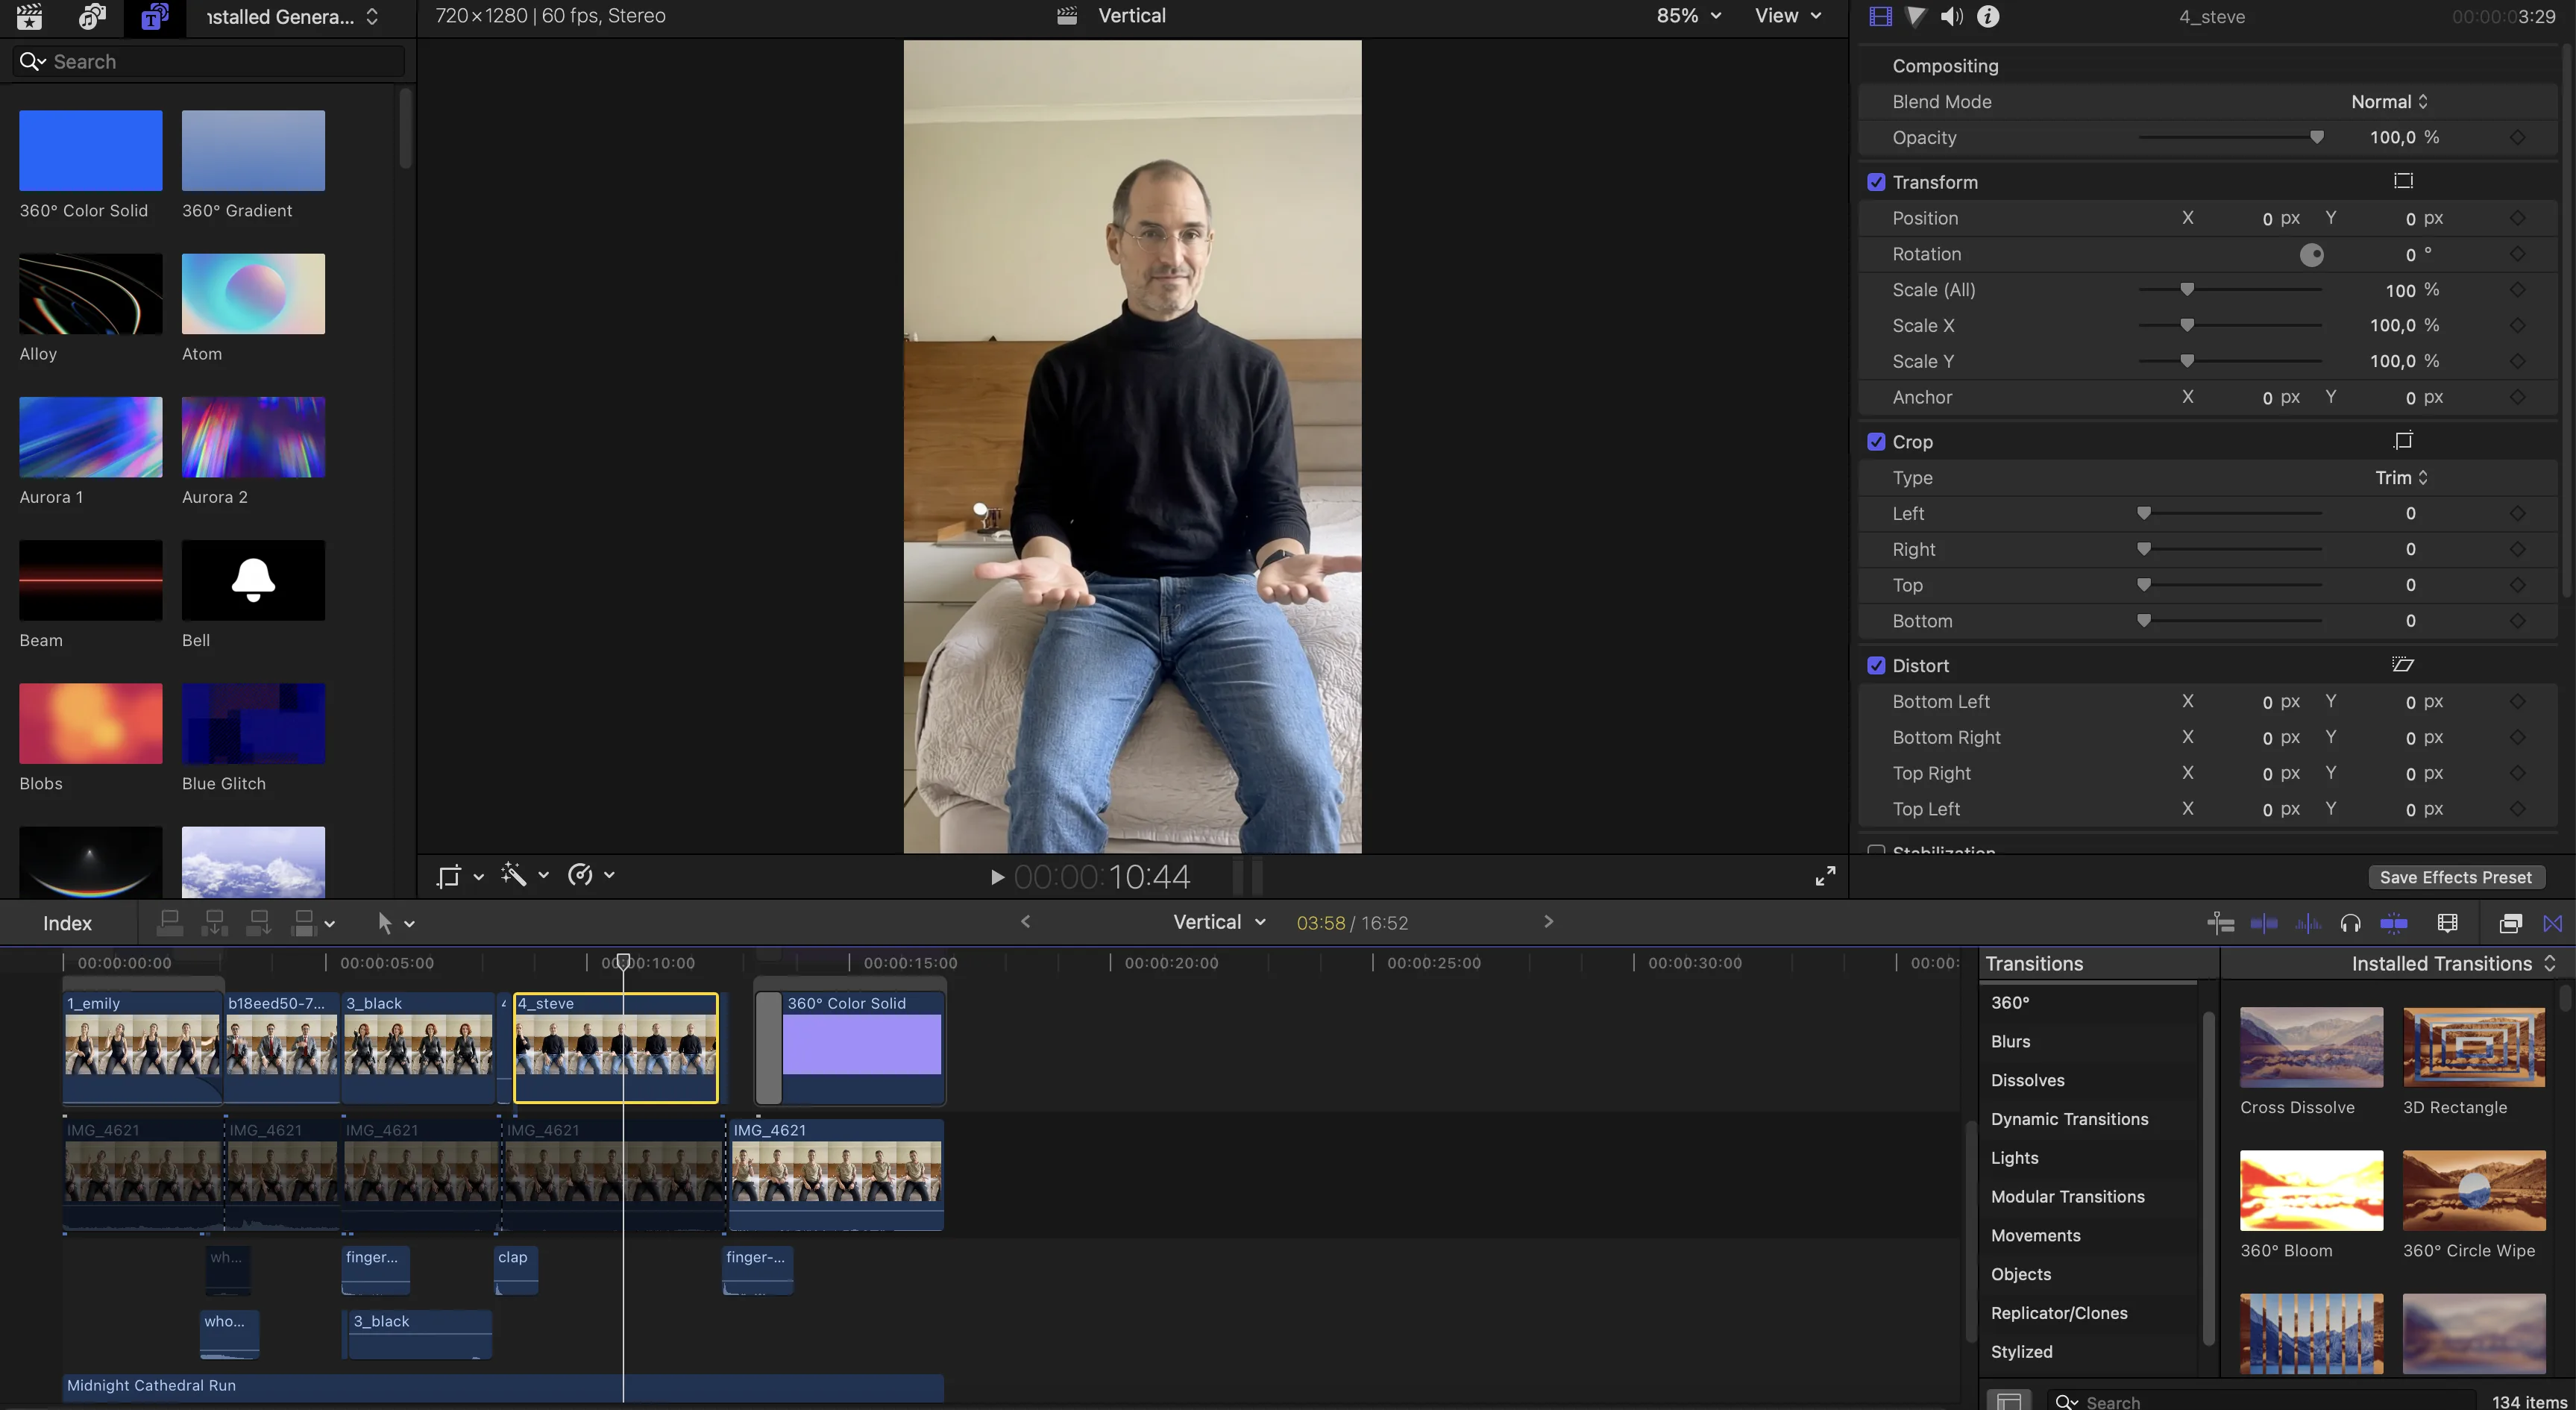
In any standard video editor, I manually cut my source video into sections — one section per celebrity. I was deliberate about where the cuts landed. The timing and natural movement at the cut point makes a big difference to how smooth the final result looks.
If you want to automate this step, it's entirely possible — as long as your video has a consistent cadence. For example, if you want to swap character every 5 seconds, you can build a simple script that auto-splits the video at fixed intervals and feeds each clip to the corresponding celebrity image. You could vibe-code this directly into your dashboard.
⚠️ Important: Kling requires each video clip to be more than 3 seconds. Keep that in mind when cutting. Very short clips will be rejected.
A note on cost: you could convert your entire source video for every celebrity, but that gets expensive fast. Be selective. Pick your best segments — the moments where your movement is natural and expressive.
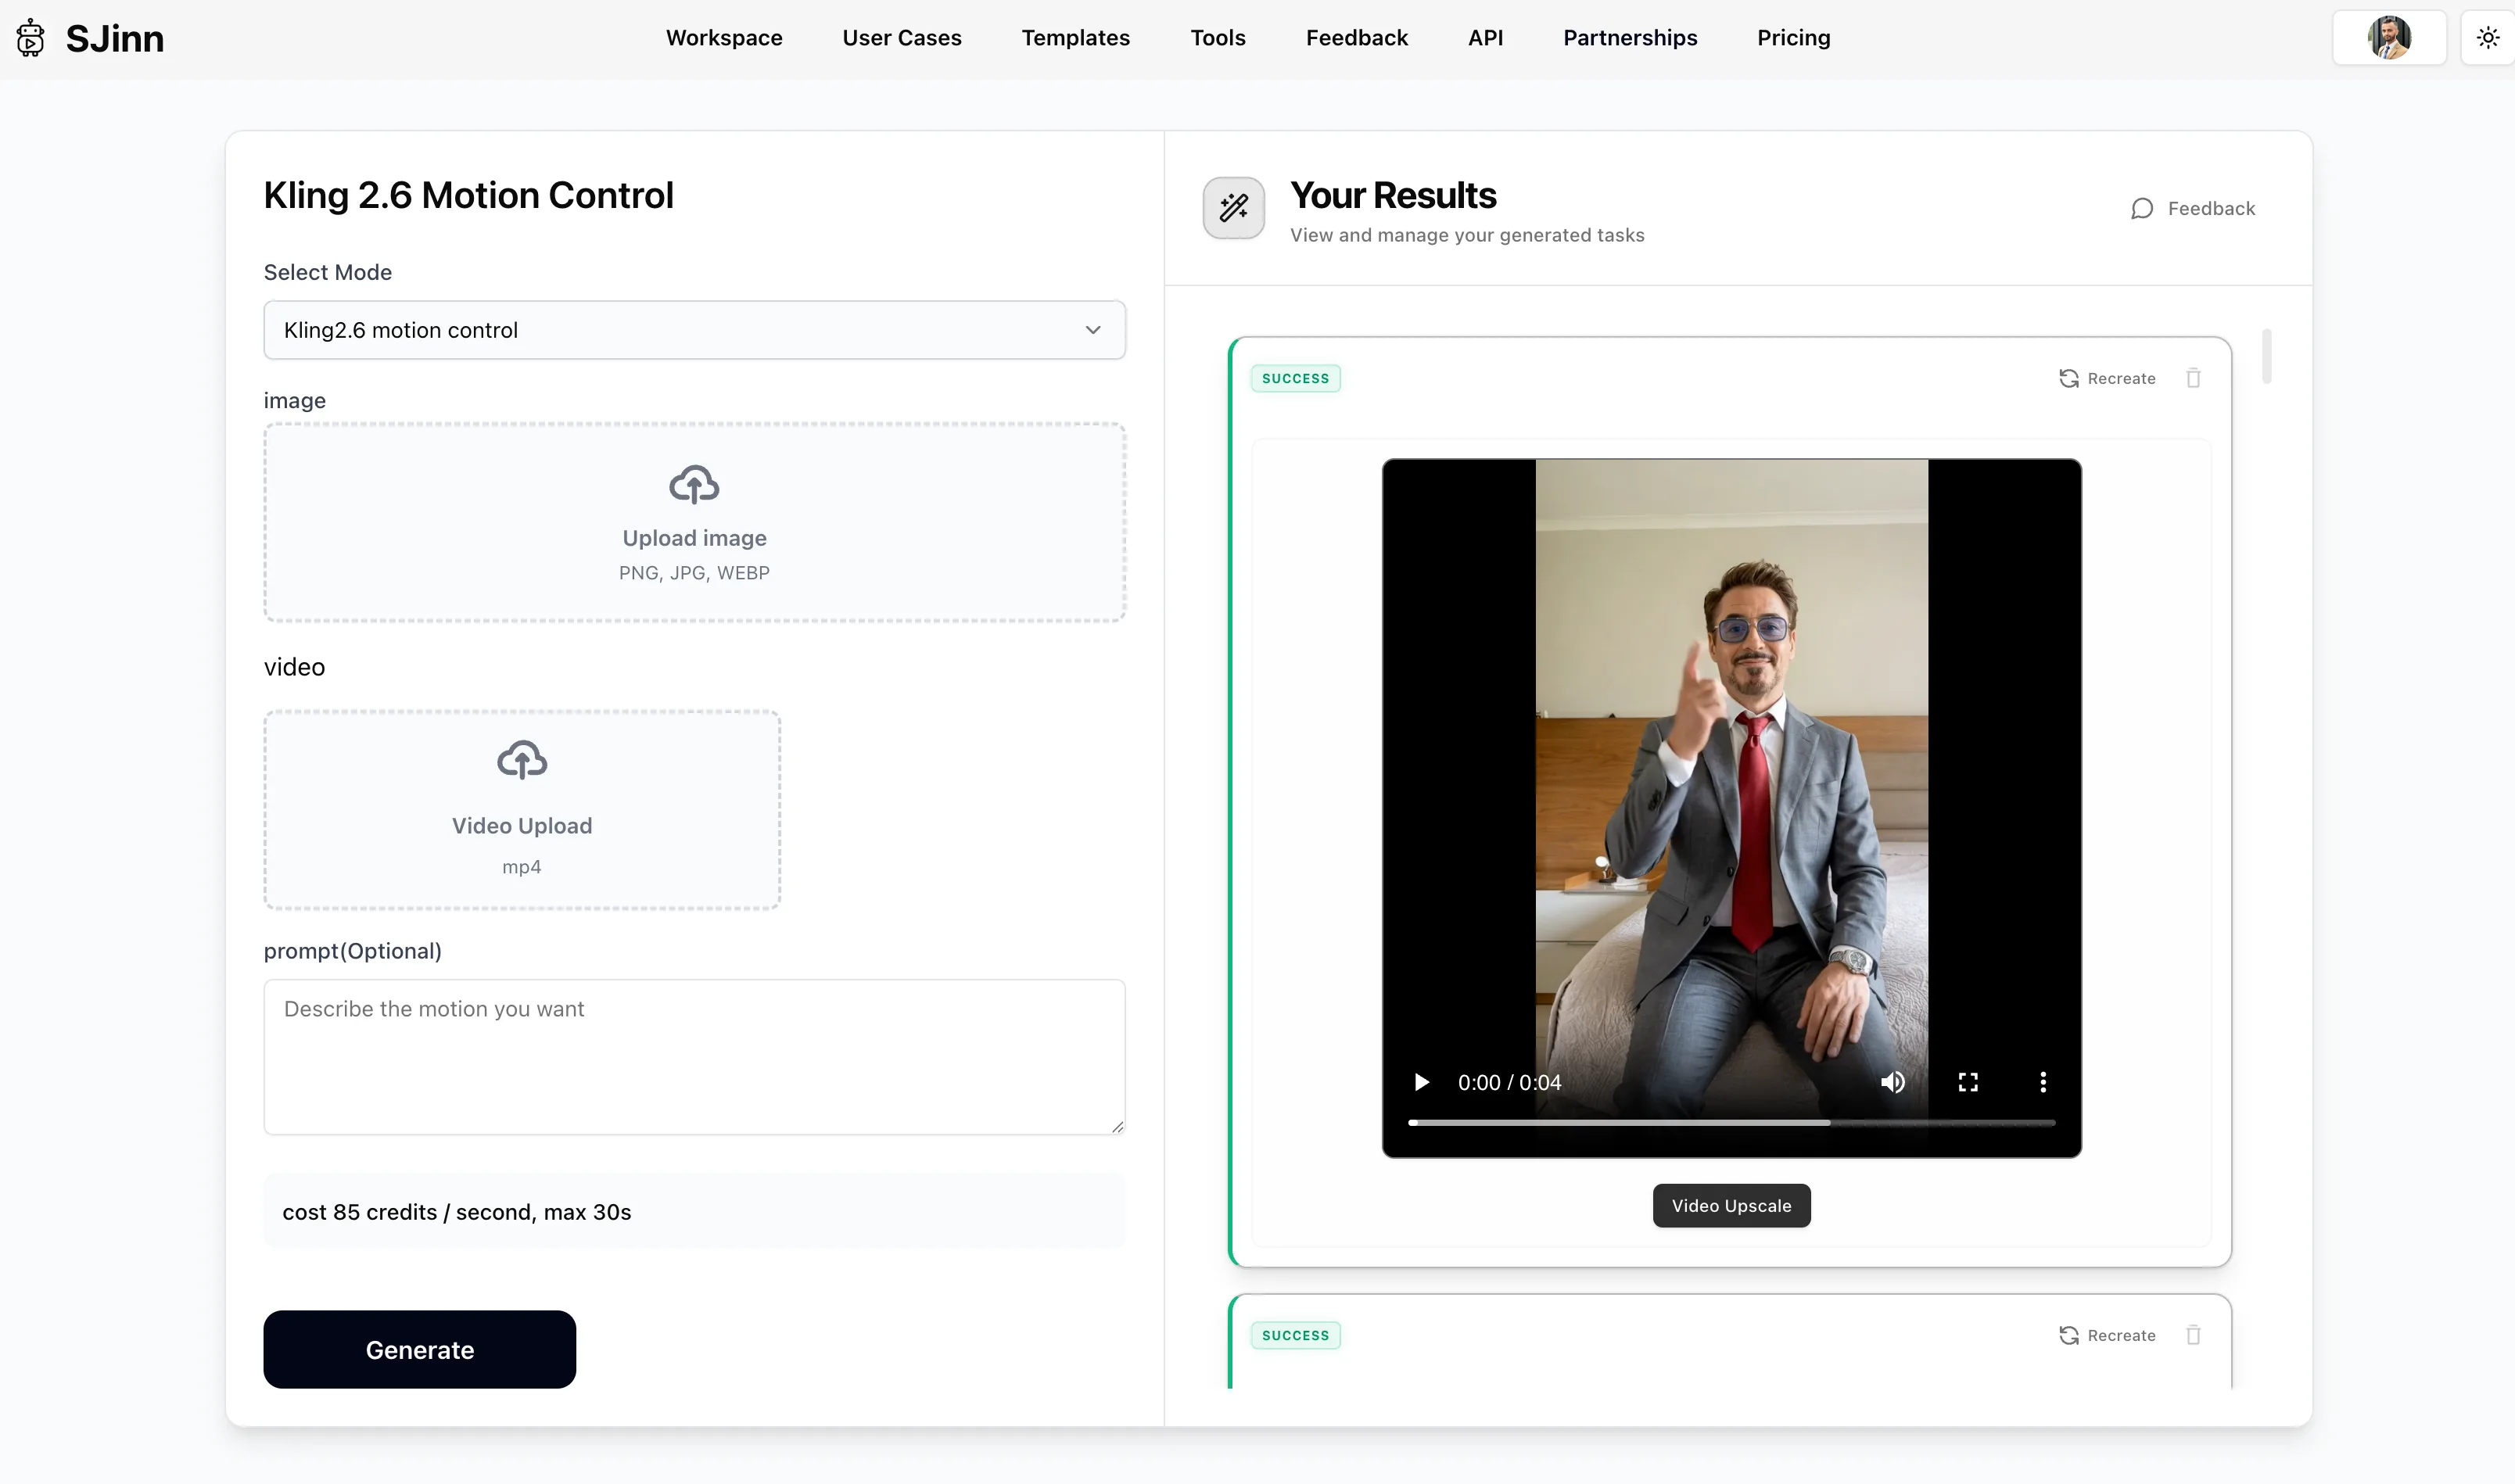
Step 6 — Motion Control via Sjinn
With reference images and video clips ready, I went back to Sjinn to run the motion control step. For this round I did it manually — uploading each video clip with its matching celebrity image.
I spoke to Jax, the founder of Sjinn, and he confirmed automated motion control is being added to the platform within a day. When that's live, the entire pipeline from images to animated clips becomes one-click automated.
You could also run the motion control step via fal.ai — both work well. I used Sjinn because I had credits to use up and the output quality is solid.
The future version of this dashboard auto-splits your source video AND auto-feeds each clip to its corresponding celebrity image for motion control. Video in, finished clips out. Fully automated. The pieces are all there — it just needs to be connected.
Step 7 — Connect the Dashboard to OpenClaw 🦞
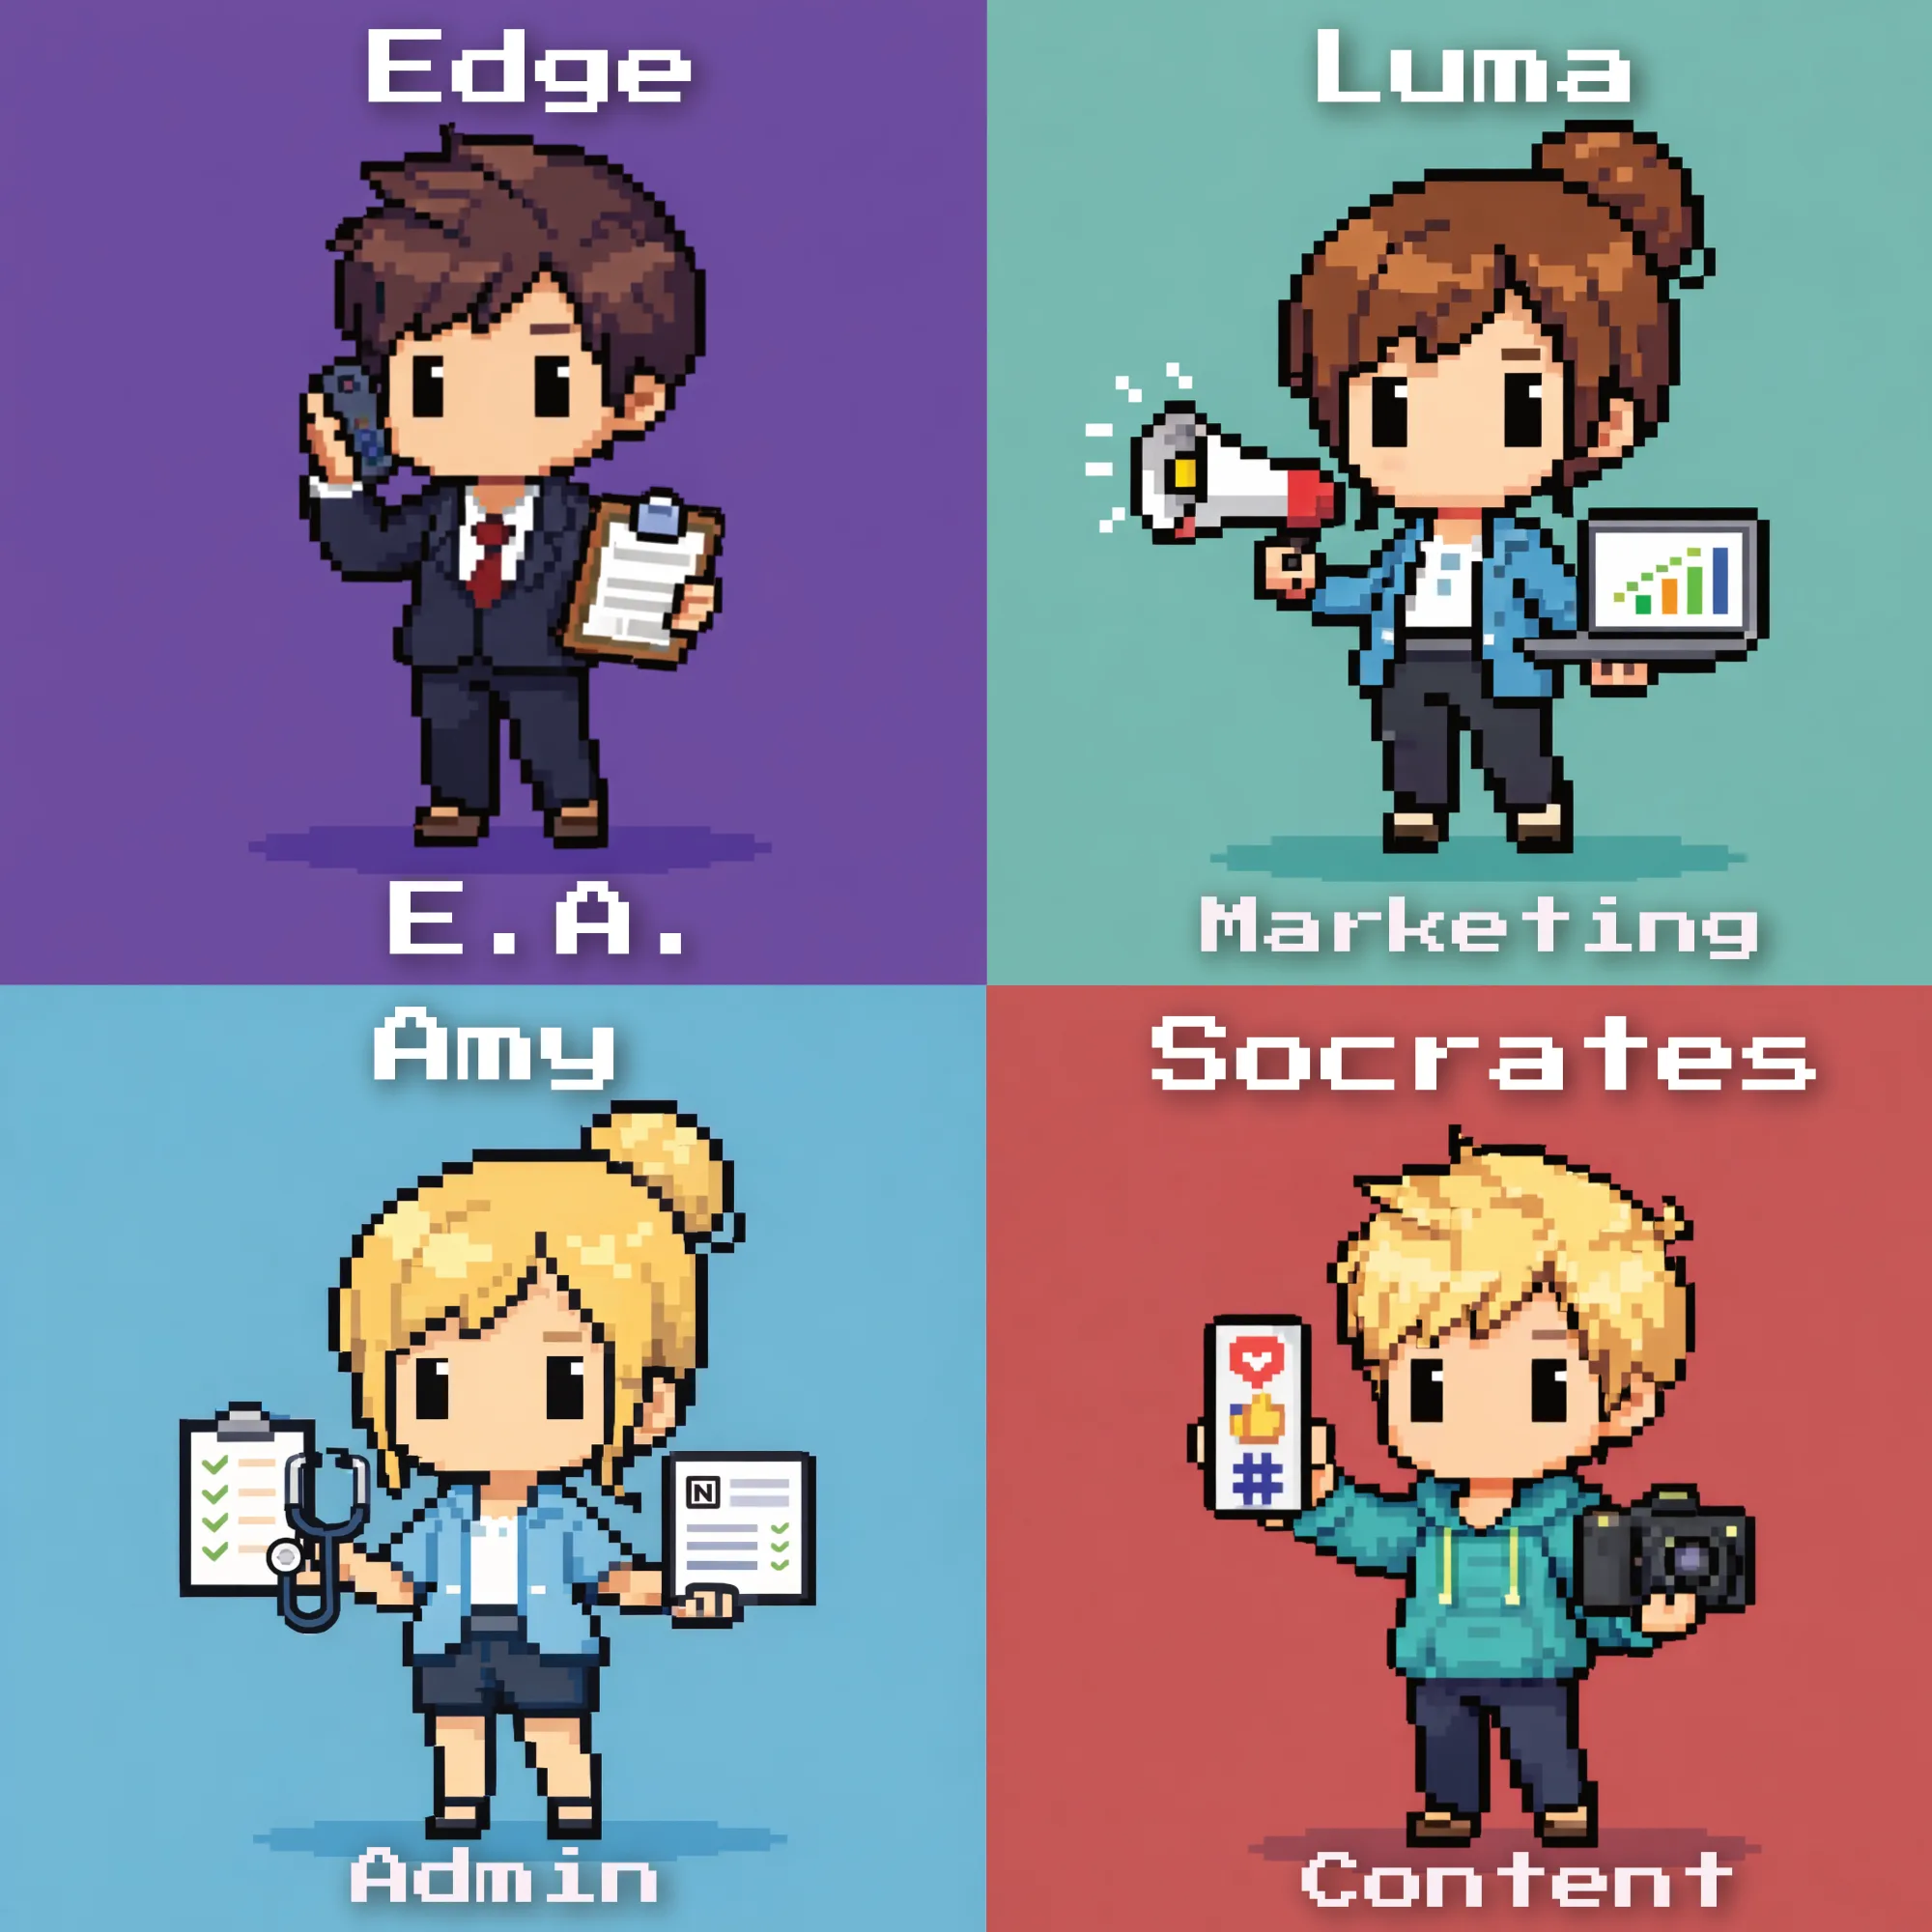
The final piece I added was exposing the dashboard as API endpoints and connecting them to OpenClaw 🦞. Now my AI agents can trigger celebrity image generations directly — without me touching the dashboard at all. These are just some of the agents that I created:
I tell OpenClaw 🦞 which celebrity I want and what they're wearing. It calls the dashboard. The dashboard calls Sjinn. The image comes back. I spend zero time in any UI.
This is the shift from a fast manual process to a fully automated content engine. The first version takes an afternoon to build. After that, generating celebrity content is a voice command.
Where This Gets Useful for Business
The celebrity examples are the pattern interrupt — they stop the scroll. But the real applications go well beyond entertainment:
- Training videos with a consistent branded presenter — no camera setup, no scheduling, no studio
- Personalised sales videos at scale — same script, different character adapted for different audience segments
- Internal communications that actually get watched — swap your avatar into a character your team responds to
- Product demos with a controlled, consistent avatar — no bad hair days, no retakes, no travel
- Multilingual content — same character, different voiceover, different market, produced automatically
Learn the Full Workflow — Live, With Me

You get the full tutorial — every step shown, every prompt shared, every tool explained. Plus live group Q&A sessions where you can ask questions as you build and get unblocked fast.
We don't just cover video automation. The community covers the full corporate automation stack — n8n workflows that eliminate repetitive admin, OpenClaw 🦞 agents that run your operations, content pipelines that produce while you sleep, and the automation thinking that makes all of it compound over time.